-
Starting from firmware v8.1.0, we had added KVM support to Mediafast 500 and Mediafast 750.
-
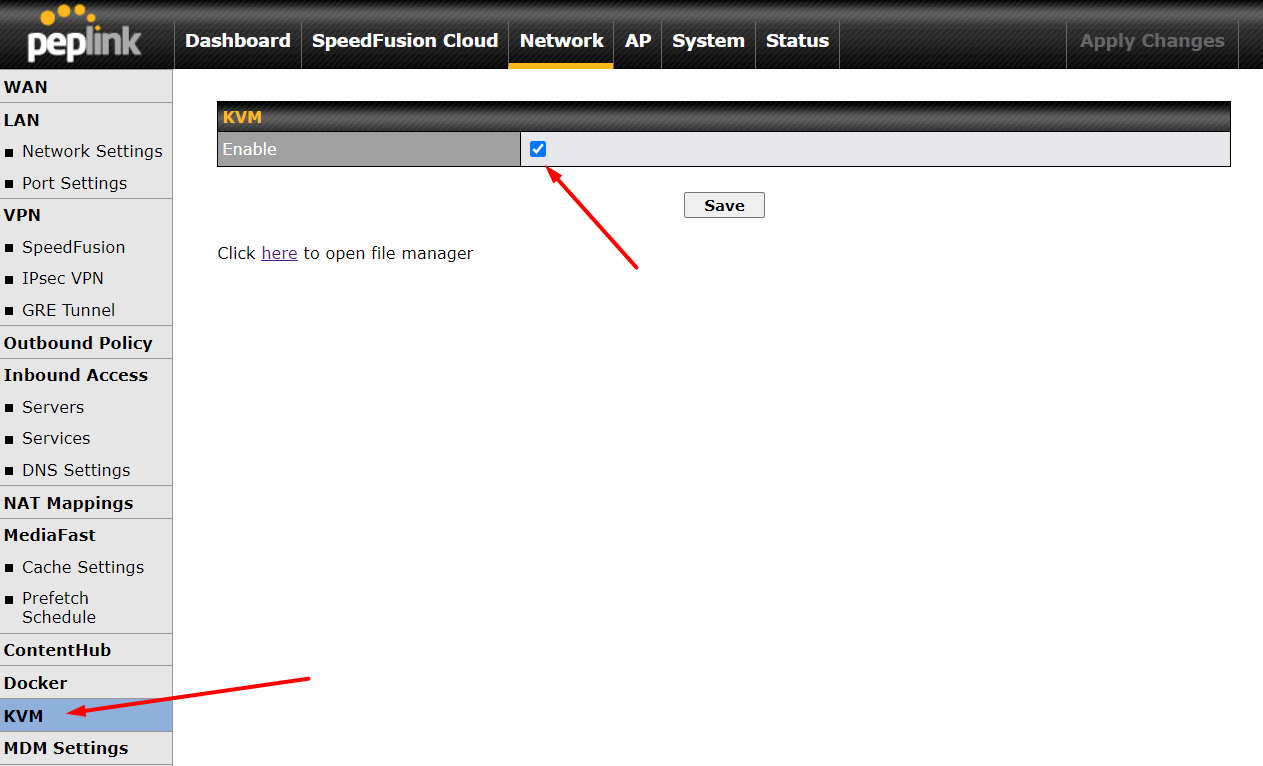
To use KVM feature, enable KVM in the router. Navigate to “Network” > “KVM” and enable it. After that, click on “Save” and “Apply Changes”.
-
Download and install Virtual Machine Manager in your PC. This software can be downloaded from here. We need to use this software to manage the KVM virtual machines.
-
The wizard provides following methods to install the operating system:
- Local install media (ISO image or CD-ROM)
- Network install (HTTP, FTP or NFS)
- Network boot
- Import existing disk image
- Open Virtual Machine Manager on the local PC (eg. Linux OS like Ubuntu, Fedoro, etc). Select “File > Add Connection…” and a dialog would appear. Configure the settings as below and click “Connect” to access the Peplink router KVM Console. The Username is the Web Admin / Username, the Hostname could be hostname or IP of the Peplink.

- Input username and password for authentication, which is the same as device Web Admin login credential.

- After establishing a connection, there is a summary view of the VM which is installed in the device as below. You can also start or shutdown any VM in this view.

- Select “File > New Virtual Machine” in the menu bar and below dialog would appear. Choose “Network Install (HTTP, FTP, or NFS)” and choose “Forward”.

- Enter the operating system install URL to the URL field as below and click “Forward”. (the following URL is the CentOS 7 install URL for testing).

- Specify the RAM size and CPU to the VM and click “Forward”.

- Specify the storage size to the VM and click “Forward”.

- Specify the name of the VM. Make sure the “Customize configuration before install” checkbox is checked and specify “br0” in the Bridge name as below. And click “Finish”.

- A VM configuration dialog appear as below:

- We need to modify the hardware as below:
-
Delete the following hardware:
- Tablet
- Sound: ich6
- Channel qemu-ga
- Channel spice
- Video QXL
- USB Redirector 1
- USB Redirector 2
- VirtIO Disk 1
-
Select “Copy host CPU configuration” in CPUs as below

- Change “Display Spice” to “Display VNC”, and follow the settings as below

- Add “Storage” by clicking “Add Hardware > Storage”, specify the size and click “Finish”.

- Below is the final hardware configuration and click “Begin installation” to start installation.

- Open a VNC viewer and connect to the device as below:

- You would see console and complete the installation here:

- When the installation is completed, the newly created VM would appear in the summary view as below:

-
Log into the web admin of the router. We need to find out the IP address of the newly installed VM. Navigate to “Client List” to get the IP address of the VM.
-
For my case, the newly installed VM is using IP address 192.168.1.101.

-
User can now interact with the newly installed VM via IP address 192.168.1.101.
-
If SSH is enabled at the newly installed VM, user can now use PUTTY to SSH into the VM using IP address 192.168.1.101.